
 Snarf
21463d314f
added marlin touch mi
Snarf
21463d314f
added marlin touch mi
|
пре 6 година | |
|---|---|---|
| .. | ||
| media | пре 6 година | |
| resources | пре 6 година | |
| .gitignore | пре 6 година | |
| .vscodeignore | пре 6 година | |
| README.md | пре 6 година | |
| extension.js | пре 6 година | |
| package-lock.json | пре 6 година | |
| package.json | пре 6 година | |
| tsconfig.json | пре 6 година | |
README.md
Auto Build support for Visual Studio Code
This Visual Studio Code extension provides access to the Auto Build script.
Installation
Get the MarlinFirmware repository from GitHub. Open the directory buildroot/share/vscode and copy the AutoBuildMarlin folder to the Visual Studio Code extension directory. Relaunch Visual Studio Code to complete the installation.
To find the Visual Studio Code extension directory:
- Windows - Use Windows Explorer's address bar to open
C:/Users/USERNAME/.vscode/extensions. - Mac - Use the Finder's
Gomenu to open~/.vscode/extensions. - Linux - In the Terminal type
open ~/.vscode/extensions.
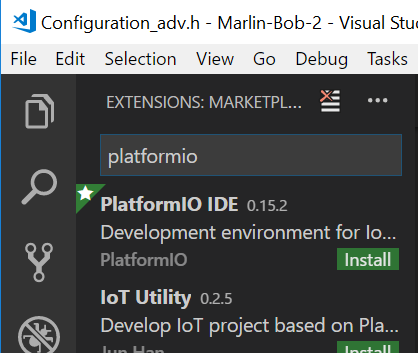
3. Install the PlatformIO extension
Click on View > Command Palette...

Find and click on Extensions: Install Extensions

Type platformio into the search box and click on Install under PlatformIO IDE.
Usage
This extension adds the Auto Build icon  to the Activities bar.
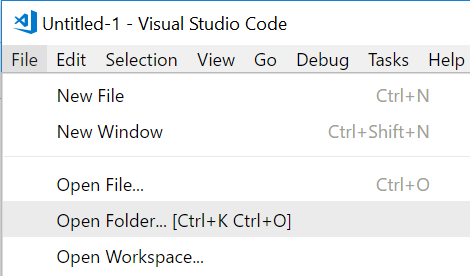
1. Open the Marlin folder
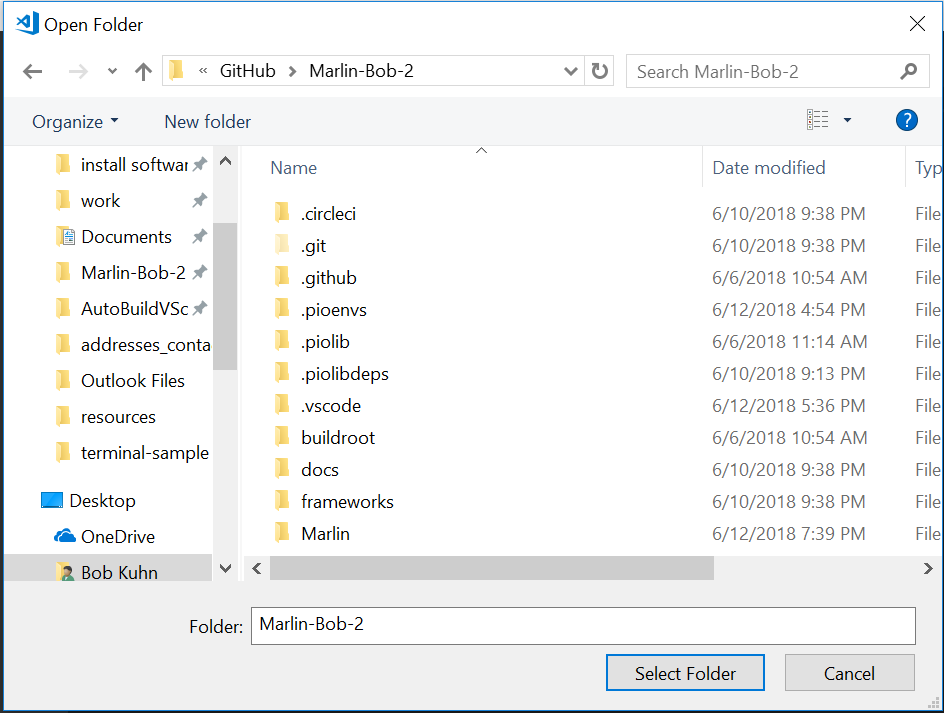
Click on File > Open Folder...
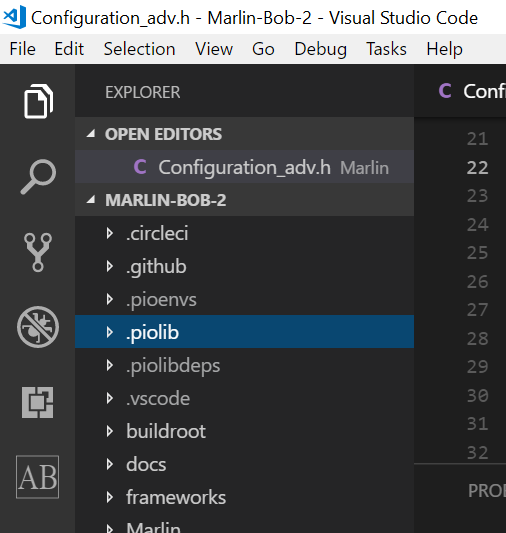
This brings up the Open Folder dialog. Select the folder that has the platformio.ini file in it.
You should see something like the following. If not, click on the Explorer icon in the Activities bar.
2. Click on the Auto Build Icon
This brings up the Auto Build menu icon bar.
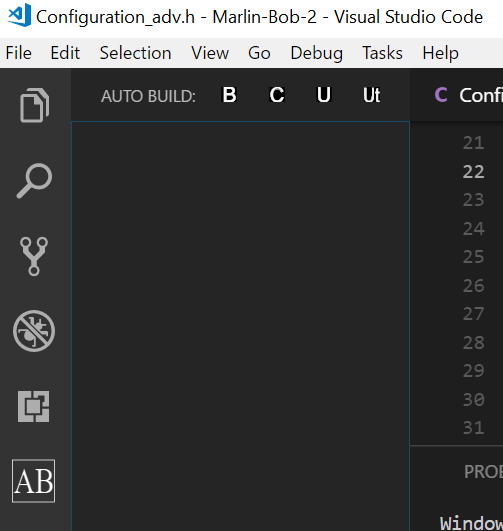
3. Click on one of the four icons
 - Clicking on it starts
 PIO Build - Clicking on it starts
 PIO Clean - Clicking on it starts
 PIO Upload - Clicking on it starts
 PIO Upload (traceback)